

Resin Art for Beginners: Lessons From My Creative Journey
Art is a journey of constant discovery. For me, that journey took an unexpected turn in 2019 when I was looking for a way to give my fineliner drawings a durable, glossy finish. My search led me to resin, a medium I initially saw as purely functional. I quickly realized it was so much more. What started as a practical solution soon blossomed into a deep creative passion, opening up a new world of artistic expression.
Working with resin has been a process of experimentation, full of lessons learned through trial and error. It can seem intimidating at first, but the stunning results are worth the learning curve. If you're curious about this versatile medium, I want to share what I’ve learned to help you get started on your own resin art journey.
Starting with Resin: The Early Days
My journey with resin began cautiously. Initially, my goal was simple: to create a protective layer over my intricate fineliner drawings on paper. The idea of encasing delicate lines in a smooth, glass-like surface fascinated me. This need led me to explore the basics of resin—mixing it with hardener, pouring it, and waiting for it to cure.
To better understand the material, I signed up for a beginner’s workshop. This phase was filled with trial and error. How many colors should I combine on a wooden board to create a harmonious look? Do I prefer wood, acrylic, or even metal as a base for resin artwork? How can I fix areas where the pouring didn’t go as planned? Why does the surface appear cloudy instead of clear and glossy? What did I get wrong during the process?
I also had to figure out how to blend my drawings with this fluid medium. How could I protect the paper while the resin cured? These questions pushed me to experiment, refine my techniques, and embrace the learning curve.
Sealing my drawings in resin was transformative. It added depth and permanence, beautifully complementing the themes of my work. The resin didn’t just protect the art—it enhanced it, making the details shimmer and the black lines more vivid. This was the moment I realized resin wasn’t just a sealant; it could be a creative partner.

Lesson 1: Your Workspace is Everything
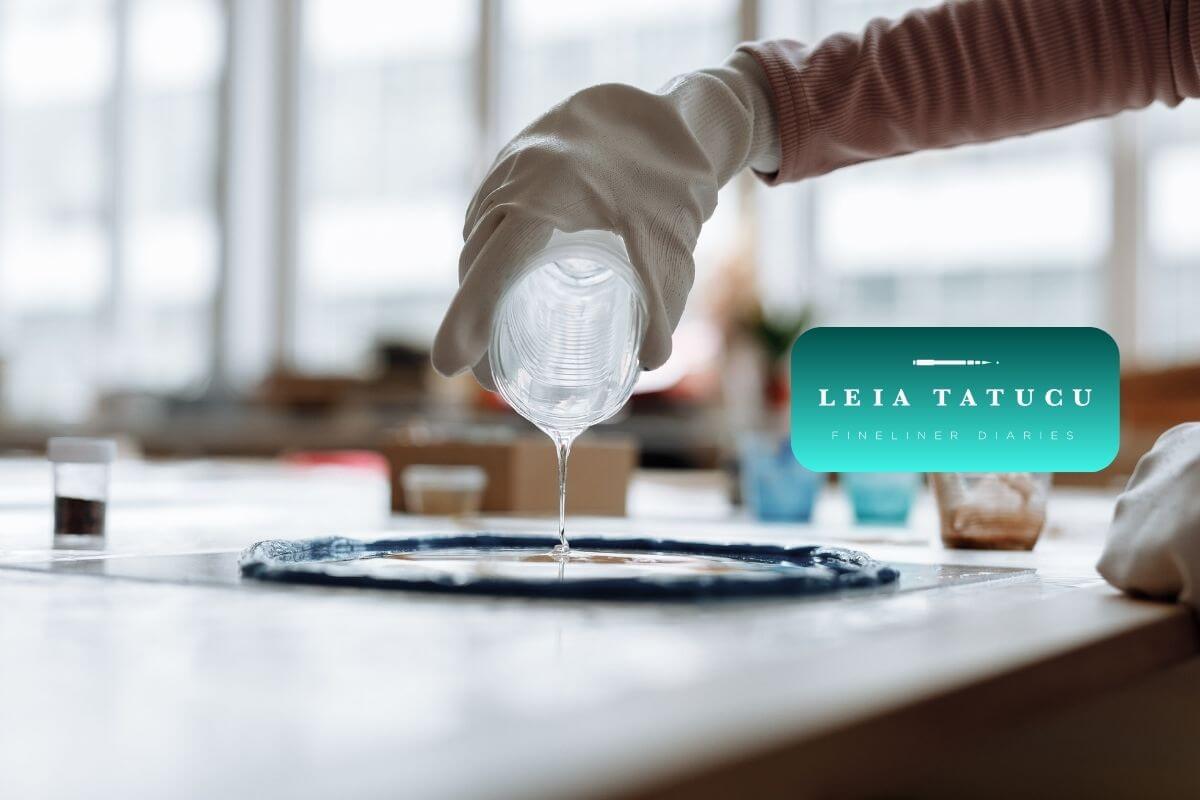
Before you mix your first batch, prepare your workspace. This is one of the most important lessons I’ve learned—often the hard way. Resin is sticky and can permanently damage unprotected surfaces. Unlike more forgiving paints, it requires a dedicated area separate from your living space, especially due to the fumes released during its curing time.
- Protect Surfaces: Cover your table and floor with plastic sheeting. I find cutting open large garbage bags works well. It simplifies cleanup, as cured resin peels right off.
- Ensure Proper Ventilation: Epoxy resin releases fumes during the curing process, making good ventilation essential. This, however, presents a common challenge: circulating air during the initial curing phase can compromise the desired glossy finish and attract airborne particles or even small insects. I've found these tiny creatures have a radar for freshly poured resin, often landing in the most critical or hard-to-clean areas of a piece! My solution is a two-step process: I wear a respirator mask designed for organic vapors during the pouring. Then, once the resin layer has fully cured (usually the next day), I open windows and use a fan to thoroughly ventilate the space before I resume working. This approach prioritizes both safety and the integrity of the artwork.
- Gather Your Supplies: Have everything within arm's reach before you start: resin, hardener, mixing cups, stir sticks, nitrile gloves, safety glasses, colorants, a heat gun, and your surface.
Lesson 2: Precision in Mixing is Key
Resin is a chemical reaction, and the instructions on the bottle are rules, not suggestions. For that reaction to happen correctly, you need to be precise.
Most art resins require a 1:1 ratio by volume, but always check your brand. Use graduated mixing cups and stir slowly but thoroughly for at least three to five minutes. Scrape the sides and bottom of the cup to fully incorporate everything. If not, you’ll end up with soft, sticky spots that won’t cure. I learned this lesson early on, and it often meant pouring another expensive layer to fix it.

Lesson 3: The Battle Against Air Bubbles
Air bubbles are the nemesis of many resin artists. They can appear during mixing and pouring, clouding your creation. Fortunately, there are effective ways to fight them.
- Stir Slowly: Mixing too vigorously introduces air. Stir deliberately.
- Warm Your Resin: Before mixing, place your sealed resin and hardener bottles in a warm water bath for about 10 minutes. This reduces its viscosity, helping bubbles escape. This tip is especially useful in cold weather, even when temperatures drop below freezing.
- Use a Heat Gun: After pouring, let it sit for a few minutes, then make a quick pass with a heat gun or torch to pop the bubbles. Keep the heat source moving and at a distance to avoid scorching the resin—I've learned that lesson the hard way, and it’s not fun to fix.
Lesson 4: Don't Be Afraid to Experiment
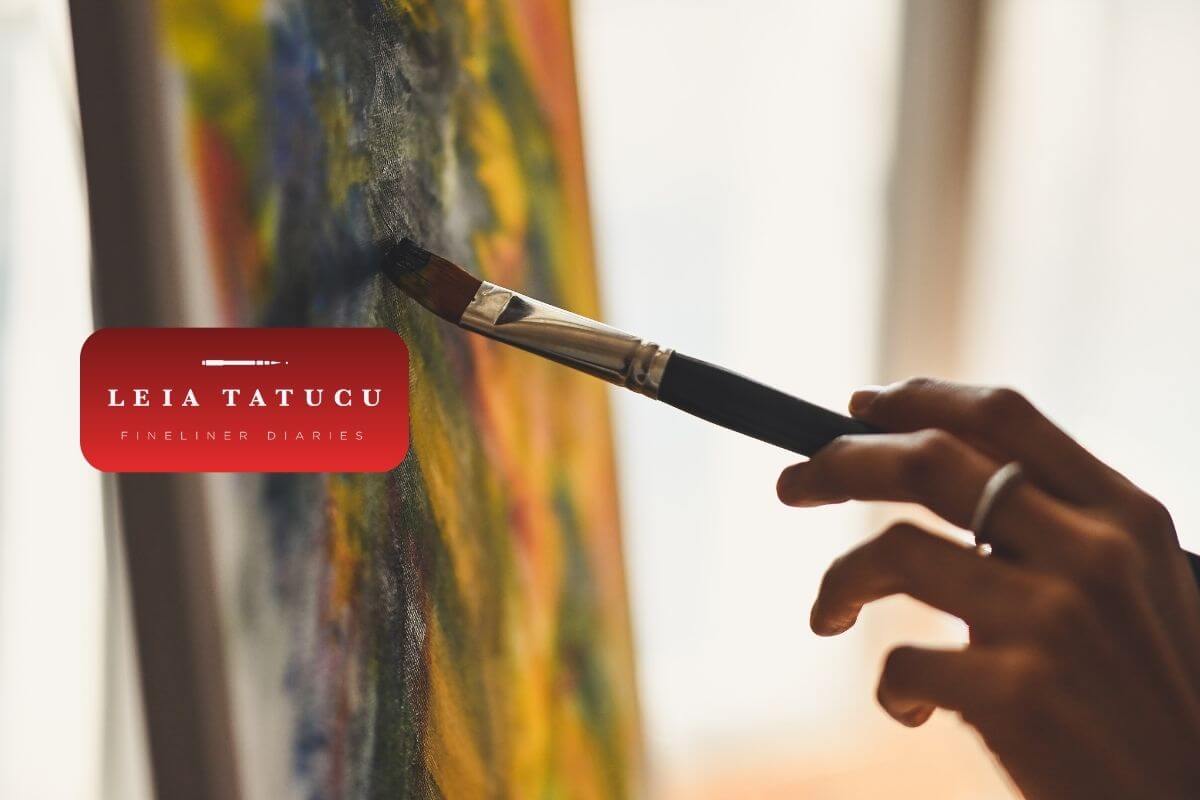
Once I mastered the basics, I started to see resin as a creative medium in itself. This is where the real fun began. I stopped using it as just a top coat and started integrating it into the artwork. The fluid nature of the resin beautifully complemented the structured, geometric style of my fineliner drawings.
I began mixing in pigments and mica powders, creating vibrant, abstract pours that flowed around my detailed lines. Using a heat gun to guide the resin’s movement allowed me to craft organic shapes and stunning color gradients impossible with a pen or brush. It felt like a true collaboration—my controlled drawings blending with the unpredictable nature of liquid resin.

Lesson 5: Quality Materials Make All the Difference
My journey into working with resin was made so much easier by starting with the right materials. I use high-quality epoxy resin from Stefanie Etter's Etter Art shop, and the consistent excellence of her products has kept me loyal—I’ve never felt the need to try another brand. For my collage layers, I usually use MasterCast 1-2-1 and occasionally TotalCast, while the new Top Coat 2-1 provides a perfect, durable finish for my completed pieces.
What truly sets Etter Art apart isn’t just the products but the incredible support. I learned how to properly use these materials at Stefanie’s art academy, where she teaches artists how to work with her expertly crafted products. This hands-on guidance, combined with exceptional customer service, boosted my confidence and skill.
Now, Stefanie also offers online courses and the Etter Art Membership, making it easier than ever to access valuable resin-pouring knowledge and techniques from home. Of course, her in-person workshops remain an exciting option for those willing to make the trip to the academy. Whether in-person or online, having access to her expertise has been an invaluable part of my creative journey.
Lesson 6: Curing Takes Time and Patience
The final lesson is perhaps the hardest for an excited artist: waiting. Resin needs a clean, level, and dust-free environment to cure properly.
The Waiting Game
After your final pour and bubble-popping, it’s time to let your artwork cure. When I first started working with resin, I tried covering my pieces with a cardboard box or plastic bin to protect them from dust, pet hair, and other airborne particles. I made sure the cover was propped up so it wouldn’t touch the wet surface. However, this approach often caused more harm than good, stirring up particles that got trapped in the fresh resin layer. I quickly abandoned that method.
Instead, I focused on learning how to grind and polish resin artwork to achieve the smooth, glossy finish I envisioned. That said, you don’t always have to go this route. A clean workspace and fresh air at the start can significantly reduce airborne debris during the curing process. And for the smallest particles that do make their way onto the surface, they’re usually so tiny they’re barely noticeable.
Your piece will be dry to the touch in about 24 hours, but a full, hard cure can take 72 hours or more, depending on the resin brand, room temperature, and humidity. Resisting the temptation to touch it during this time is a true test of patience. Let the resin do its thing—rushing this step can result in fingerprints or imperfections in your glossy finish.

Your Turn to Create
My journey with resin started from a practical need and blossomed into a core part of my artistic practice. It taught me patience, precision, and the beauty of embracing a new medium. It allowed me to add layers of meaning and texture to my work, combining the controlled world of fineliner drawing with the fluid, vibrant world of resin.
If you’re thinking about trying resin art, I hope my experiences encourage you to take the plunge. Start small, protect your workspace, and be patient with yourself. Embrace the experiments, learn from the mistakes, and let this unique medium guide you toward new creative possibilities.

Leave a comment
This site is protected by hCaptcha and the hCaptcha Privacy Policy and Terms of Service apply.