


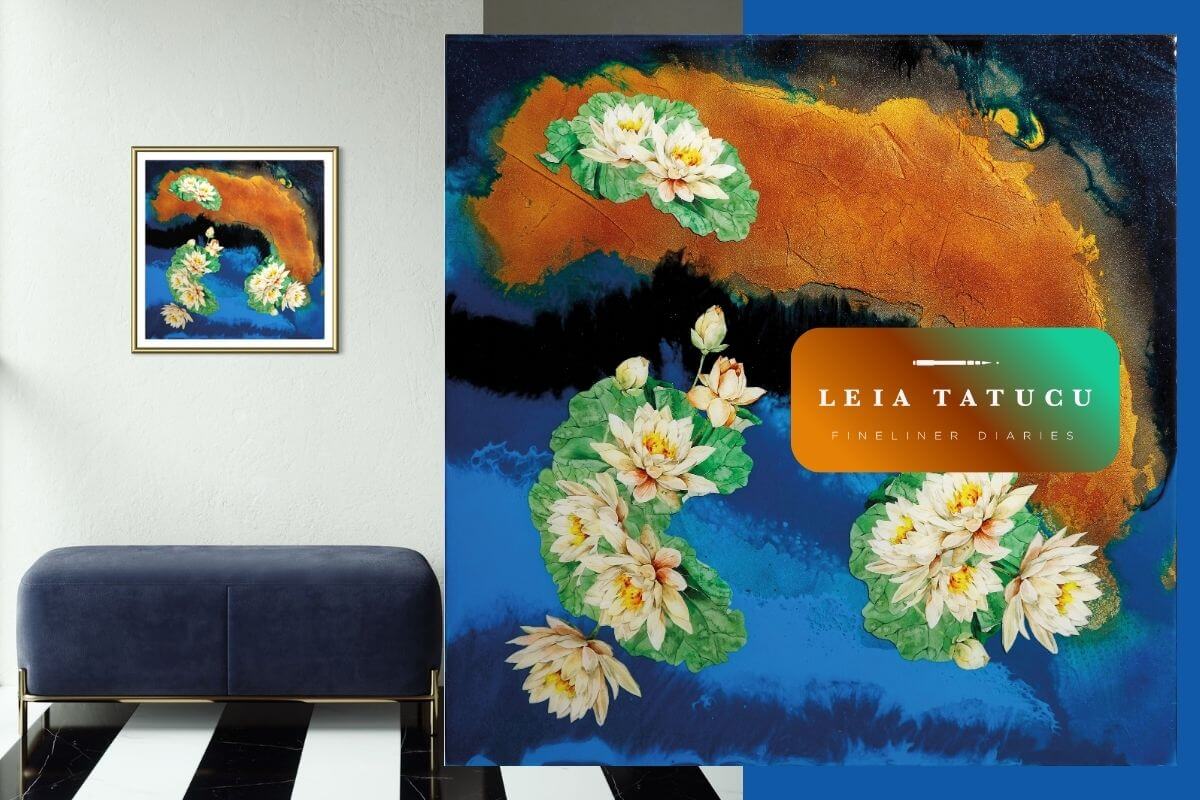
Preserving Artistic Legacy: A Guide to Archiving Creative Work
As an artist, I see my work as more than just individual pieces—it’s a reflection of my vision, my journey, and the stories I want to share with the world. Each creation contributes to a larger legacy, one that I hope will outlive me. But I often ask myself: what happens to that legacy after the paint has dried, the resin is cured, or the piece is sold? Over time, I’ve learned that preserving my artistic legacy is just as important as creating the art itself. That’s why I’ve dedicated myself to archiving my work, not only to keep it organized but to ensure it’s valued and accessible for generations to come.
Today, I want to share the system I’ve developed for organizing, digitizing, and safeguarding my artistic legacy. Whether you’re a fellow artist looking to preserve your work or a collector interested in understanding the process, I hope my approach inspires you to take steps toward creating a lasting record of your art.
Why I Created a Living Archive
For me, an archive isn’t just a dusty collection of forgotten items—it’s a living, breathing part of my practice. It’s a way to document my evolution as an artist while providing collectors and galleries with the provenance and authenticity they value. A well-maintained archive simplifies so much: preparing for exhibitions, creating catalogues, or responding to inquiries. It’s not just for others, though; it’s also a source of inspiration, a way to revisit past works and reflect on how far I’ve come.

Step 1: Organizing My Physical Collection
Before I could digitize anything, I needed to take a step back and organize my physical works. This was the foundation for everything that followed.
Creating a Detailed Inventory
I started by creating an inventory of every piece I’ve ever created. I use a simple spreadsheet, but it’s incredibly detailed. For each artwork, I record:
- A Unique ID Number: Each piece gets a unique code, like “2025-01,” to keep everything consistent.
- Title and Completion Date: The name of the piece and when I finished it.
- Dimensions and Materials: I include exact measurements and details about the medium (e.g., "Oil on canvas").
- Provenance: A record of where each piece has been—whether it’s exhibited, sold, or loaned.
- Current Location: Whether it’s in my studio, with a collector, or displayed in a gallery.
- Condition Report: Notes on the physical state of the piece.
This inventory is the backbone of my archive. It’s invaluable for collectors and for my own estate planning.

Labeling My Work
I label each piece based on its inventory details. For my own archive, I create a simple physical label with the artwork's unique ID. Exhibition labels are a bit different; they include my name, the title, dimensions, materials, and price. This process ensures every piece can be easily traced back to my records.
Step 2: Digitizing My Artwork
The first and most important step in preserving my artwork was digitizing it. This not only keeps my art safe from physical damage or loss but also makes it easy to share online, feature in exhibitions, and use in publications.
High-Quality Photography
Getting the digital copies right was tricky, especially with my glossy resin pieces. For my large-format hand-drawn works, I had them professionally scanned at a print shop. For the resin pieces, I knew I needed professional photography to capture them perfectly, though I handle the detail shots myself. I invested in high-resolution photography to make sure every color, texture, and detail was captured accurately, using a DSLR camera and proper lighting to avoid glare. For 3D pieces, I took shots from multiple angles and close-ups of key details.
If you're looking to digitize your own work, hiring a pro is a great choice. But if you’re DIY-ing it, good lighting is a must. Pro tip: include a color card in your shots for more accurate editing later.

Organizing Digital Files
Once the photography was done, I set up a clear digital filing system. Each file is labeled with the piece’s unique ID number and stored in folders by year. For example:
```
/Artworks/2025/2025-01_TitleOfWork/
2025-01_FullView.tiff
2025-01_Detail1.tiff
2025-01_ExhibitionView.jpg
```
I save the master files in high-quality TIFF format for archival purposes and create smaller JPEGs for easy sharing online or over email.
Step 3: Securing and Sharing My Legacy
Creating the archive was only part of the process. Next, I focused on protecting it and deciding how to share it with the world.
Backing Up My Files
Data loss is a real fear for any artist. That’s why I follow the 3-2-1 backup rule: three copies of my files, stored on two different types of media (like an external hard drive and cloud storage), with one copy off-site. I use cloud services like Google Drive to ensure my digital archive is always safe, even if something happens to my physical devices.

Sharing My Work
My archive also helps me share my work more effectively. I use it to curate my website, where I showcase select pieces for collectors and galleries. Each piece includes high-quality images, detailed information, and sometimes a story about its creation. It’s a professional and personal way to connect with my audience while maintaining control over how my work is presented.
By providing detailed provenance and documentation, I build trust with collectors. They know they’re investing in pieces with verified history, and it reflects my seriousness about preserving my legacy.
Building A Lasting Legacy
Archiving my creative work has been one of the most rewarding parts of my artistic journey. It’s not just about keeping things organized; it’s about honoring every piece I’ve created and making sure their stories can be told for years to come.
To my fellow artists, I can't recommend it enough: take the time to preserve your work. Your art deserves to be remembered. If you’re just starting, don’t get overwhelmed. Just begin with one piece and build your system from there. It's the best way to protect your creative voice and make sure your legacy lives on.
Let's take care of our art and preserve the stories only we can tell.

Leave a comment
This site is protected by hCaptcha and the hCaptcha Privacy Policy and Terms of Service apply.